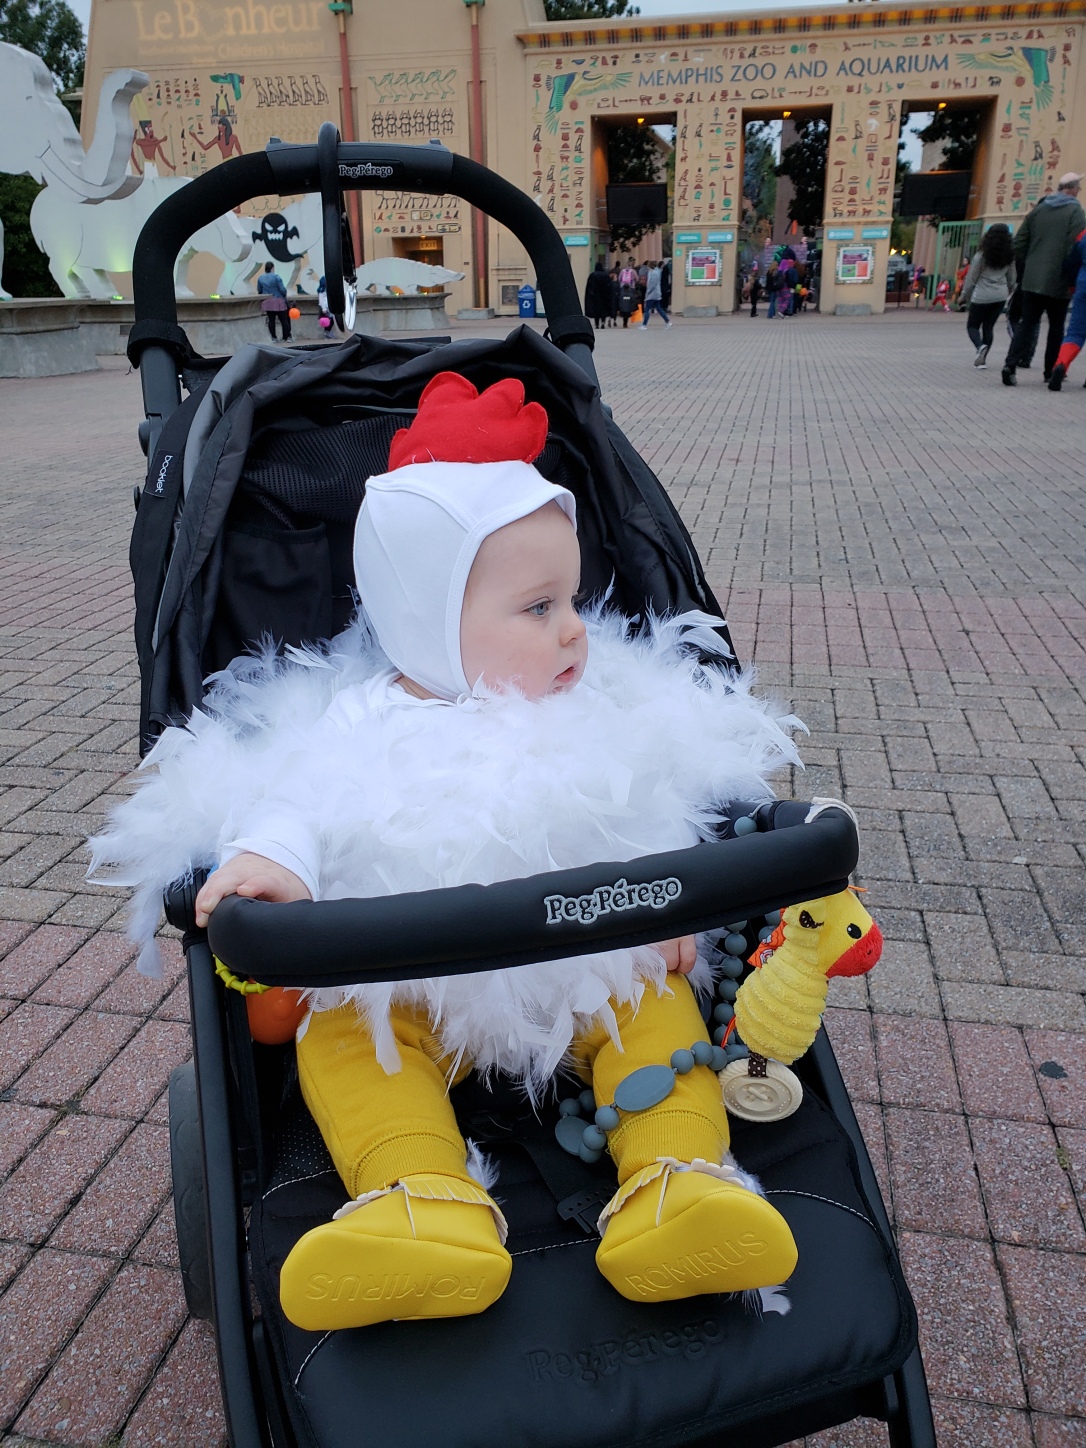
Hi friends! It has been a hot minute! I wanted to share Colton’s Halloween costume with you guys! We visited Zoo Boo at the Memphis Zoo and had so many people ask me where I got it from. I made it! This took some patience but it doesn’t take much skill. I will say if you have better sewing abilities than I do you can most certainly execute this better than I did.
Here is what you will need:
- 2 onesies or leotards
- 2 feather boas
- Liquid stitch
- Stitch witchery(& iron)
- Poly-fil
- Pilots cap
- Red felt
- Hot glue gun
- Yellow tights/sweatpants
- Yellow shoes

I recommend sizing up if you buy plain onesies (which by the way is much cheaper). I later found after I got the feathers glued down there is no stretch so getting the costume on and off is difficult each time. Definitely size up, it was far to late for us so we had to just go with it.
- First you will want to start with unsnapping each onesie and stuff one down inside of the other. I got my iron out and began seaming together with my stitch witchery along the the bottom half and the necklines of the onesies. I also used my liquid stitch around the snaps and areas where I had a hard time getting the stitch witchery to adhere. You just want things secure enough so that your stuffing will not come out. Once you have the 2 onesie seamed together you can start stuffing it with Poly-fil. I found less is more for us. I did not go crazy with it because I did not want it to be too difficult to get on him. The extra plumpness makes things so much cuter!
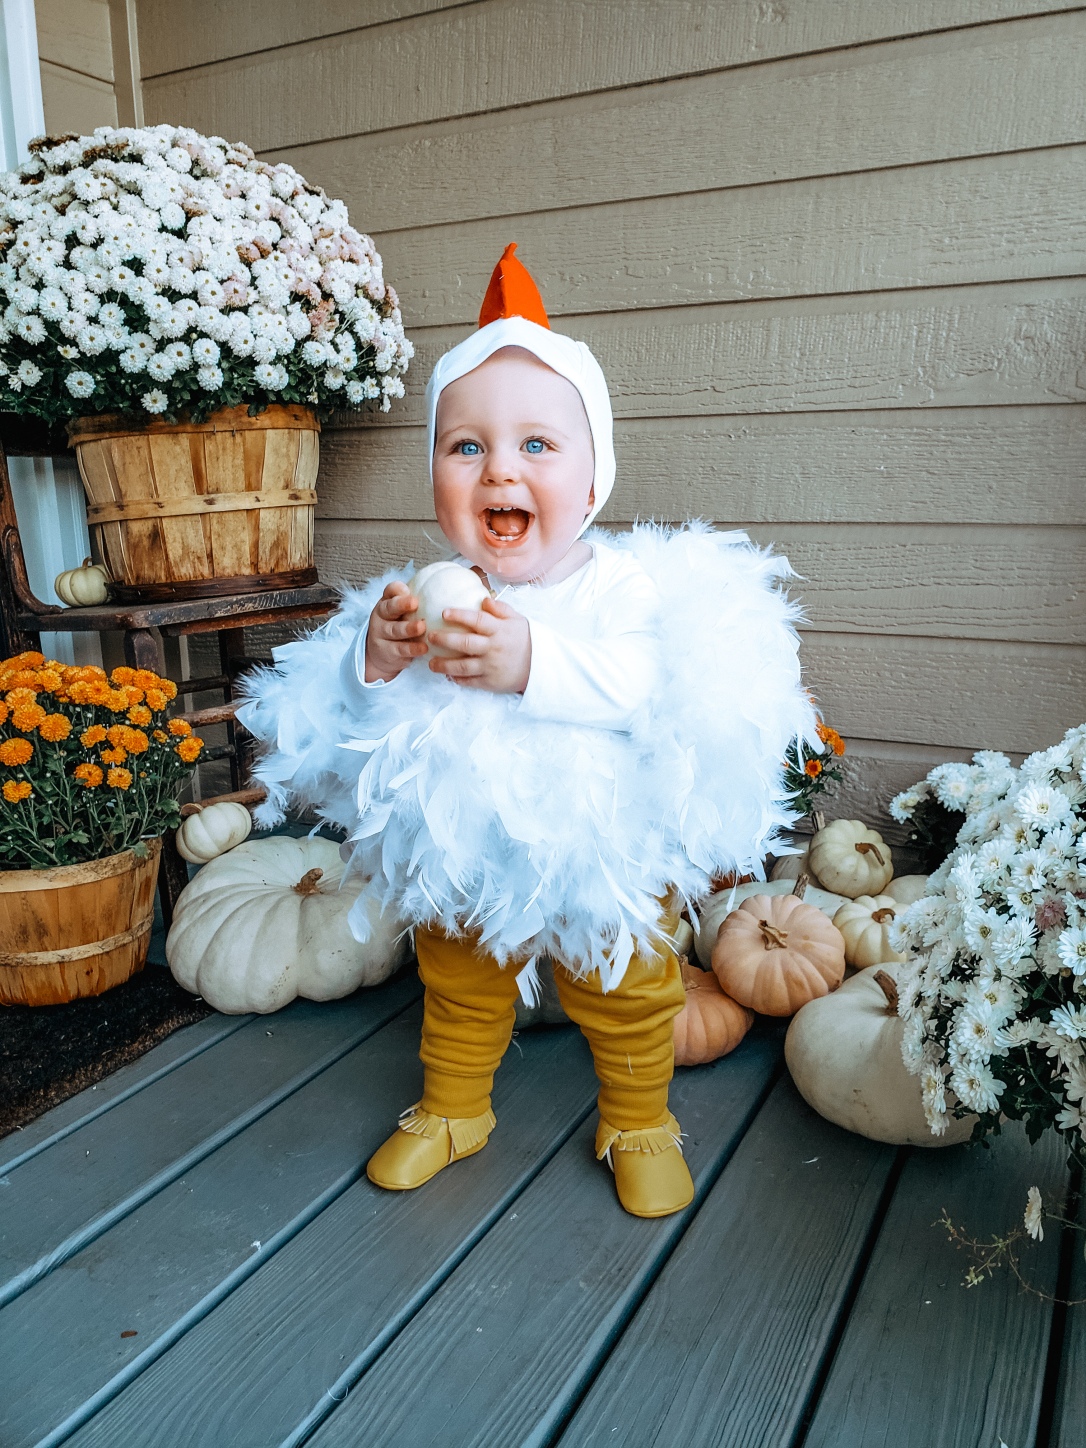
- Next step is start attaching your feather boas. If you have a bigger kiddo then you could probably start at the neckline but since Colton is little I wanted to keep the feathers out of his face and mouth. I started at his chest around, under his arms, and when I got around to his back I came up at an arch since the feathers back there would not be in his way. Liquid stitch or hot glue gun will work for this step. Because hot glue can be stringy I was worried it would get caught up in the feather so I personally used the liquid stitch to get things where I wanted and also made it easier to manipulate because the liquid stitch takes longer to dry. Then you can come back once you have things in place and do some dots of hot glue for even more security. I went all the way around and stopped right at his booty so I could get his yellow sweatpants on with no problem. After I made it all the way around the onesie with the feather boa I cut off a section of feathers then glued it from his shoulder to the back of his forearm. I did not come all the way to his wrist because his hands are constantly in his mouth.
*A tip is using safety pins when you are trying to get the feather boas started in all the different places.
* Something I did not do but would be very helpful when placing the feathers is to take your remaining polyfil bag and stuffing it down into the onesie.
- Now you want to get your red felt and cut out the comb for your hat. I just eyeballed it. I know that is not very good instructions. There really is not a right or a wrong. If you get pretty close to the general shape then it will look perfectly fine. If you need an actual guideline, Martha Stewart has a print out you can trace.
*I suggested buying a few pieces of felt to give yourself more than one attempt at it. They are cheap.
- I purchased a pilots cap from Amazon because I could tie it around Coltons chin. But any white hat will do. If you sew you can probably make this look much better than I did. I simply put a thin line of hot glue along the edge of the felt a little at a time and began pressing it together. Be careful not to get too close to the edge so you don’t have a lot of glue come out. Leave the bottom of the comb open. As you can see my first try I got to close to the edge and I did not like seeing all the glue that came out. So I tried again and it looked much better.
(First try)

(Second try and after it was glued to the hat)

- Stuff the comb with a little bit of the Poly-fil, it doesn’t take much.
- Stretch the hat over a bowl, begin hot gluing the comb to the center of the hat.
* Try the hat on your child first to get an idea where the comb needs to be placed.
- Look everything back over to make sure you do not need to secure anymore places on the onesie or hat.
That’s it you are DONE! It is really not a hard project! Feather boas, hat, and moccasins came from Amazon. Onesie and yellow sweatpants are from Target. Felt, stitch witchery, liquid stitch, and Poly-fil came from hobby lobby! If I left out any instructions let me know. I hope this is helpful! I so enjoyed making his first Halloween costume! Happy Halloween!!